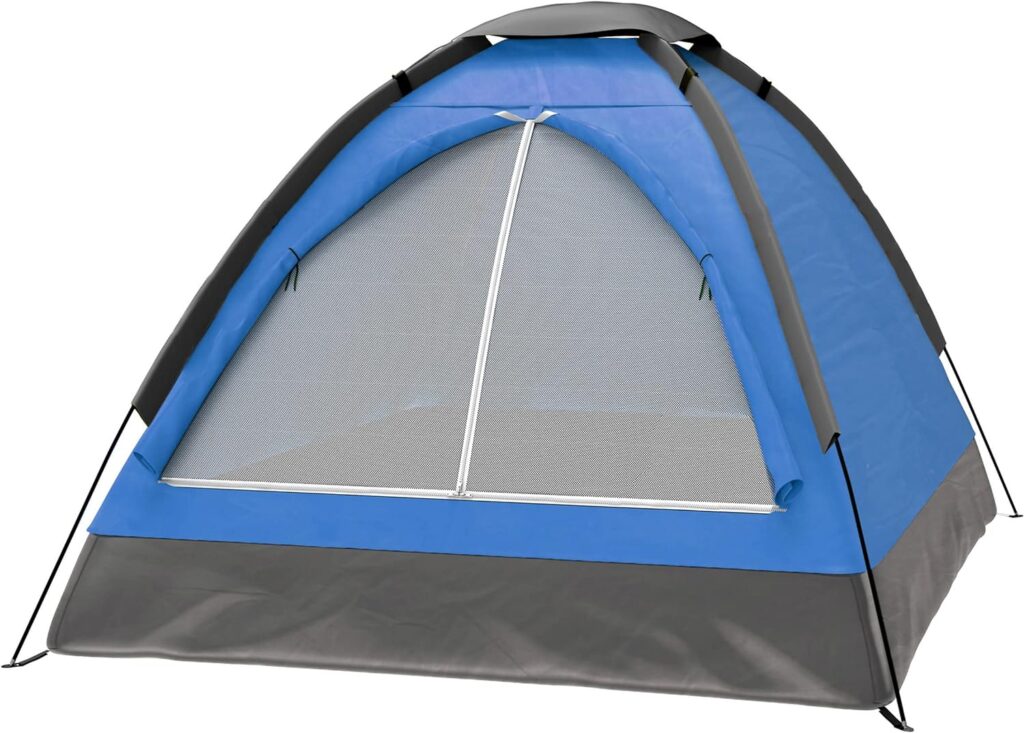
Ah,the tent. Your temporary home under the stars, your refuge from the elements, and sometimes, a source of unexpected frustration. But fear not, aspiring campers! With a little practice and these helpful tips, you’ll be pitching your tent like a pro in no time.
Location, Location, Location:
The perfect campsite sets the stage for a successful tent setup. Look for a flat, level area free of rocks, roots, or other obstructions. Avoid low-lying areas prone to flooding, and steer clear of dead trees or branches that could fall. If possible, choose a site with some natural wind protection from trees or bushes.
Gear Up:
Before you embark on your camping adventure, ensure you have all the necessary equipment:
Tent: Of course! Choose a tent appropriate for the number of occupants and weather conditions.
Tent Poles: These assemble to create the tent’s structure. Make sure you have all the sections and that they connect properly.
Rainfly: This waterproof layer provides protection from rain and condensation.
Stakes: These secure your tent to the ground. Choose the right type and number of stakes based on your tent and campsite conditions.
Mallet: A rubber mallet helps drive stakes into the ground without damaging them.
Unfold and Unfurl:
Lay out your tent: Spread the tent body on the ground with the door facing your desired direction.
Assemble the poles: Connect the tent poles according to the manufacturer’s instructions. They may have color-coded sections or markings to guide you.
Insert the poles: Slide the assembled poles into the designated sleeves at the tent’s corners and peak.
Staking Your Claim:
1.Attach the rainfly: Drape the rainfly over the tent and secure it to the designated loops on the tent body and poles.
2.Stake it Down: Using your mallet, drive the stakes into the ground at a 45-degree angle away from the tent, following the manufacturer’s instructions for stake placement. Start with the corners and stake out the sides using tension to create a taut and stable structure.
Weatherproofing Tips:
Seams and Zippers: Apply seam sealer (if not already treated) to prevent leaks at tent seams. Consider using a waterproof spray on zippers for additional protection.
Guy Lines: Some tents utilize guy lines for extra stability in windy conditions. Stake out these lines according to the manufacturer’s instructions, ensuring proper tension.
Practice Makes Perfect:
Setting up your tent can feel overwhelming at first. Don’t wait until your camping trip to figure it out! Practice setting up your tent in your backyard or living room beforehand. This allows you to familiarize yourself with the process, troubleshoot any difficulties, and ensure all the parts are present and functioning.
Bonus Tip:
Watch online tutorials or instructional videos for your specific tent model. Visual demonstrations can be incredibly helpful, especially for beginners.
With these tips and a little practice, you’ll be pitching your tent like a seasoned camper in no time. Now get out there and enjoy the great outdoors!


